Today was our last official Wonderful Wednesday class! We did an Easter Project and Party together to celebrate our completion of the CC year together! It's been such a blessing to create this journey with these awesome women. There has been much behind the scenes in the way of support, love extended, shared struggles and encouragement as a result of this group. God has certainly used it to provide an enriched experience in homeschooling through our CC year. I've watched the kids craft and create their way through tangible memory pegs with joy. I know it has been a highlight to our weeks of school! Truly a humbling and blessed experience. I'm thankful to the women who jumped in on my idea and believed in me and the vision of Wonderful Wednesdays!

So onto the project! I wanted to give the kids a hands on project for considering the burial and resurrection of Jesus. First I thought of doing that cool pot with the three crosses that grows grass that I had seen on Pinterest several times. It looked neat. However, I decided it was much more cost effective and gave them more ownership in creating, to have the kids make their own "tombs" out of salt dough (using a tin can as the mold) and then bake them and paint them, adding some embellishments like moss and a cross on the back. We also added the element of a "Jesus" using wide scoop craft sticks with our own "frankincense and myrrh" with old spices I had and gauze for the wrapping. It was truly fun and the kids all had neat different versions to how they saw Jesus and his tomb. I love when you give them enough information to then create something in their own style instead of just simply copying what they see.
So the recipe for the salt dough I used is:
4 Cups of Flour
1 Cup of Salt
1 1/2 Cups of Water
Mix all the ingredients kneading to a playdough type consistency, adding additional water if necessary to get right consistency for molding.
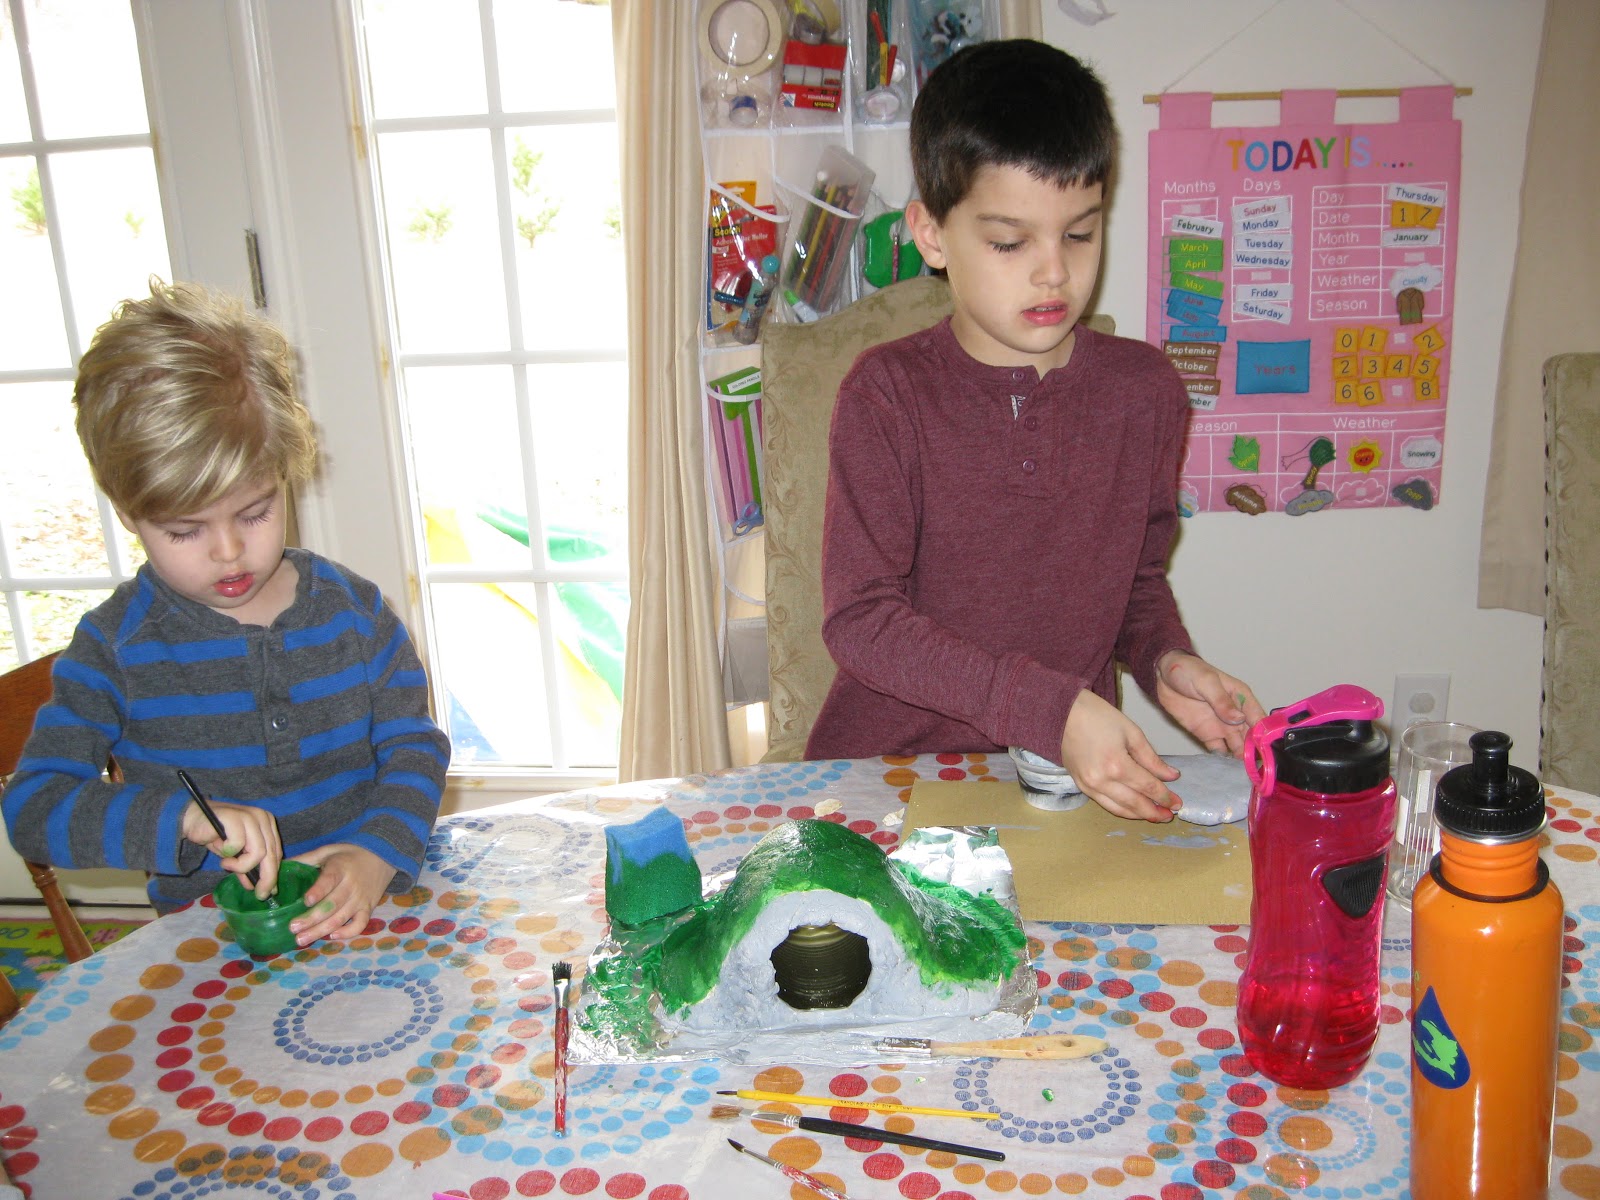
Take the tin can and form the dough around the can and out the side and back forming a "mound" of sorts (good cue to talk about the Mound Builders here!). If you mold it so that the dough goes out gradually sloping from the can - then it will allow for you to remove the can after you bake it. It's not necessary to remove the can but if you want to then you need to consider that as you mold the "tomb". Form a boulder to cover the opening. Bake at 350 degrees for about 1 hour or until appears to be dried/hardened slightly. Then let it cool and paint and embellish as you see fit.

For Jesus - you can use the wooden craft sticks that remind me of the ice cream spoons you would get with those little round individual ice creams that you pop the stop off and eat. They're wider at the top, short and more narrow at the bottom. The kids took markers and colored pencils and drew Jesus face on them. Then we took gauze and laid it out adding old sage and parsley spices I had with glue sticks to hold it in place. Then the kids wrapped up their Jesus. We cut a separate piece for the headdress as well. :)
 |
| Even Mason enjoyed doing this project today! |
 |
| We added our spices to our gauze with glue as we "prepared" our cloths to cover Jesus for burial. |
 |
| Hot glued the crosses to the back of the "tomb" |

 |
| Celebrated with some delicious fun foods! |
 |
| AWESOME BUNNY By our very own ERIN!! |


This is very cool. It is on my list to do!
ReplyDelete